Technology06 November 2017
3 tips to ensure your website is converting customers
Converting public “users” into customers is the key goal for most businesses. Why should your website be any different? Use these 3 tips to turn users into customers.
Great UI design succeeds when creativity is guided by process, purpose, and measurable outcomes.


“The easiest way to fail the design process is by not correctly defining the problem”
Any project involving User Interface (UI) design can be an almighty journey. Not only is design viewed objectively, but there are also several ways for designers to approach their work. There is always an important target to focus on during this process: a product that meets the client’s needs, the designer’s standards and the desired business outcome.
Any design project should have clear and achievable goals to keep the process moving, the client invested and strategic creativity at the forefront.
I have designed many websites, apps and software products for small businesses, state governments, data-rich real estate portals and interactive animated e-learning modules. Through all these projects building and following a design process has become paramount to creative success. Designing user interfaces can be a long and arduous process, this process becomes the backbone of the project and opens a clear and concise path ahead.
Here is my design process, which helps maintain quality, accountability and direction:

Any design project should always start with knowledge transfer. This will include meetings and discussions with the project team. The aim is to get all relevant knowledge out of their heads, and into the designer’s.
Next is information gathering, which is similar to knowledge transfer but with hard resources – anything written or recorded. This could be style guides, brand assets, marketing materials, surveys, analytics or any other source of good design data.
Once this has all been collated, it is time to define the problem. This can come in several shapes and forms, but should deliver three clear and simple outcomes – the three P’s – using an old and outdated website as example:
These three things should always be established and investigated. The pain may be personal, and not relevant to the business goals and objectives. Sometimes the problem is assumed by a third party. Many times they will be right, however the designer should always seek these three outcomes or even develop them themselves. The easiest way to fail the design process is by not correctly defining the problem.
Now it is time to take that hard earned knowledge, turn it all into visual representations and start hunting for the best solution. The following are some useful methods for turning the information into usable data points:
This is the part of the process commonly known and associated with design – the ideation. Pencils, pens and trackpads are wielded to turn this data collection, visualisation and design thinking into a proof of concept.
The first real look at the future of an interface will be with wireframes, where low-fidelity sketches and mockups are used to create basic layout visualisations. These will form the basis of what will eventually become the product – the design. Wireframes should communicate where key components will be placed and how business objectives will be achieved.
If time and budget permit, a great way to communicate the concept with interactive prototypes. In these prototypes, designed images can be clicked or tapped via hotspots to navigate the product as a user might.
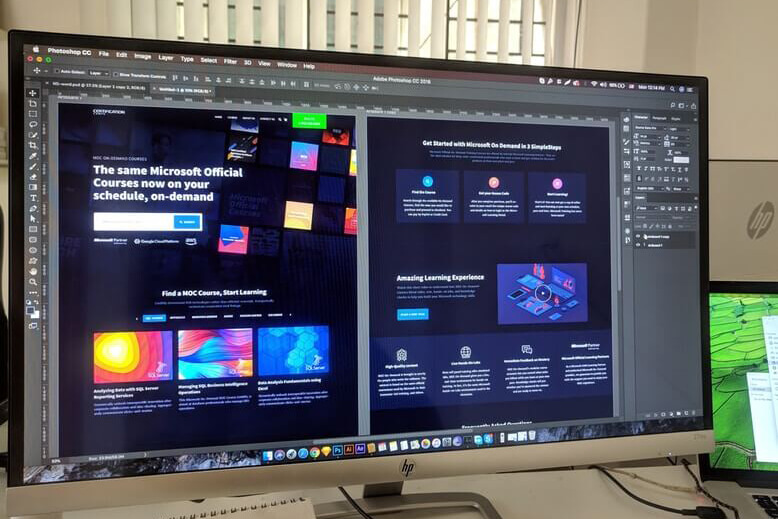
Don’t design, refine. This is the part where the designer will design the UI, the meat and potatoes of the process which will visualise the proposed design solution. This is a large part of the process, sometimes it will be split into several rounds as there can easily be dozens of images to create.
From here the designer will present their solution to the stakeholders, work with them to implement feedback and further refine the design.
Once the designs are approved, the designer should package what they have created for a developer to make internet magic. This is an important step and can empower the developer, minimise questions and ensure the final built product is everything promised.
As a minimum standard, the designer should:
The final* stage in the design process is to review and analyse the project. Now is the time to assess the metrics, run surveys and user research session to determine the successes, improvements and even the surprises.
This part of the process will help to identify points of improvement essential in converting customers and lead back to Step 3: Ideate. The design process is not linear, it is cyclical.
*There is no such thing as a final stage in the design process.
The design process is never complete, there will always be room for improvement and adjustment. Time passes and user habits evolve as fast as business requirements change. To run your business and design process in an Agile way, you must keep this process clear, flexible and cyclical. It is important to remember the initial requirements of the project: meet the client’s needs, the designer’s standards and the desired business outcome.
If you want to learn more about the design process, or work with an agency that knows how to define your problem and work together on the solution, contact TechEquipt about your app, web design or SaaS project.
Converting public “users” into customers is the key goal for most businesses. Why should your website be any different? Use these 3 tips to turn users into customers.
Do you use various digital marketing campaigns and not really know how these activities are affecting your bottom line?